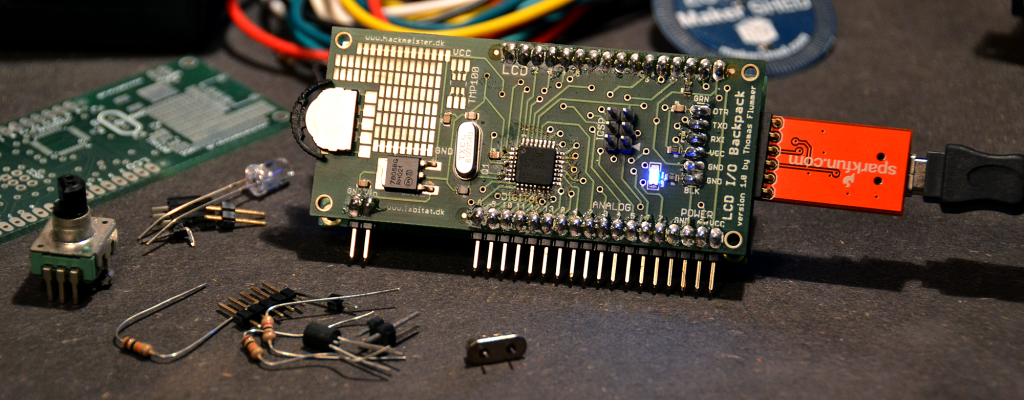
Programming the LCD I/O Backpack with an Arduino
Since the workshop in the beginning of October, there has been a few requests for alternatives to the FTDI USB to TTL level UART adapters. They are a bit expensive, and many of the attendees at the workshop didn’t have one.
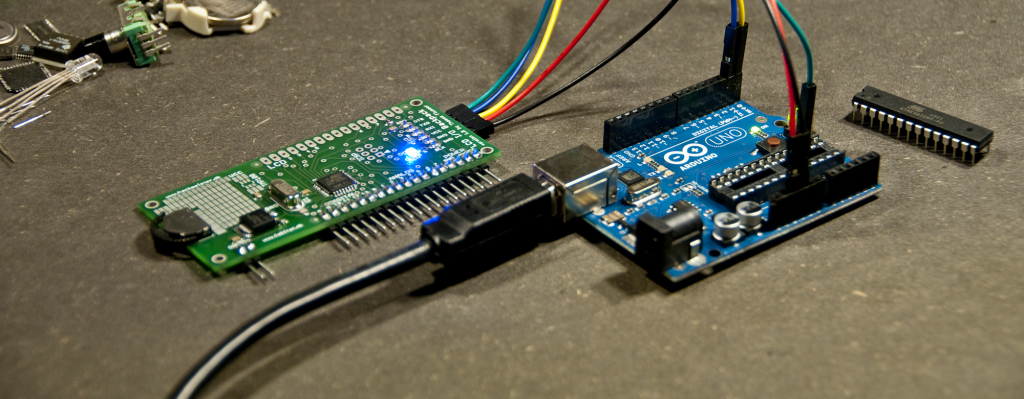
This post is an attempt to help out those that do have a regular Arduino (or a very similar clone) and want to use that instead of the FTDI adapter.
It’s kind of a hack, because all I’m doing is using the USB to UART that is on the Arduino and bypass the rest.
This bypassing is done by removing the ATMEGA chip from the socket on the Arduino.
After that, all you have to do is to connect the two serial lines (they should NOT be crossed, RX to RX and TX to TX), the DTR/Reset line and power (GND and +5V) and you are good to go.
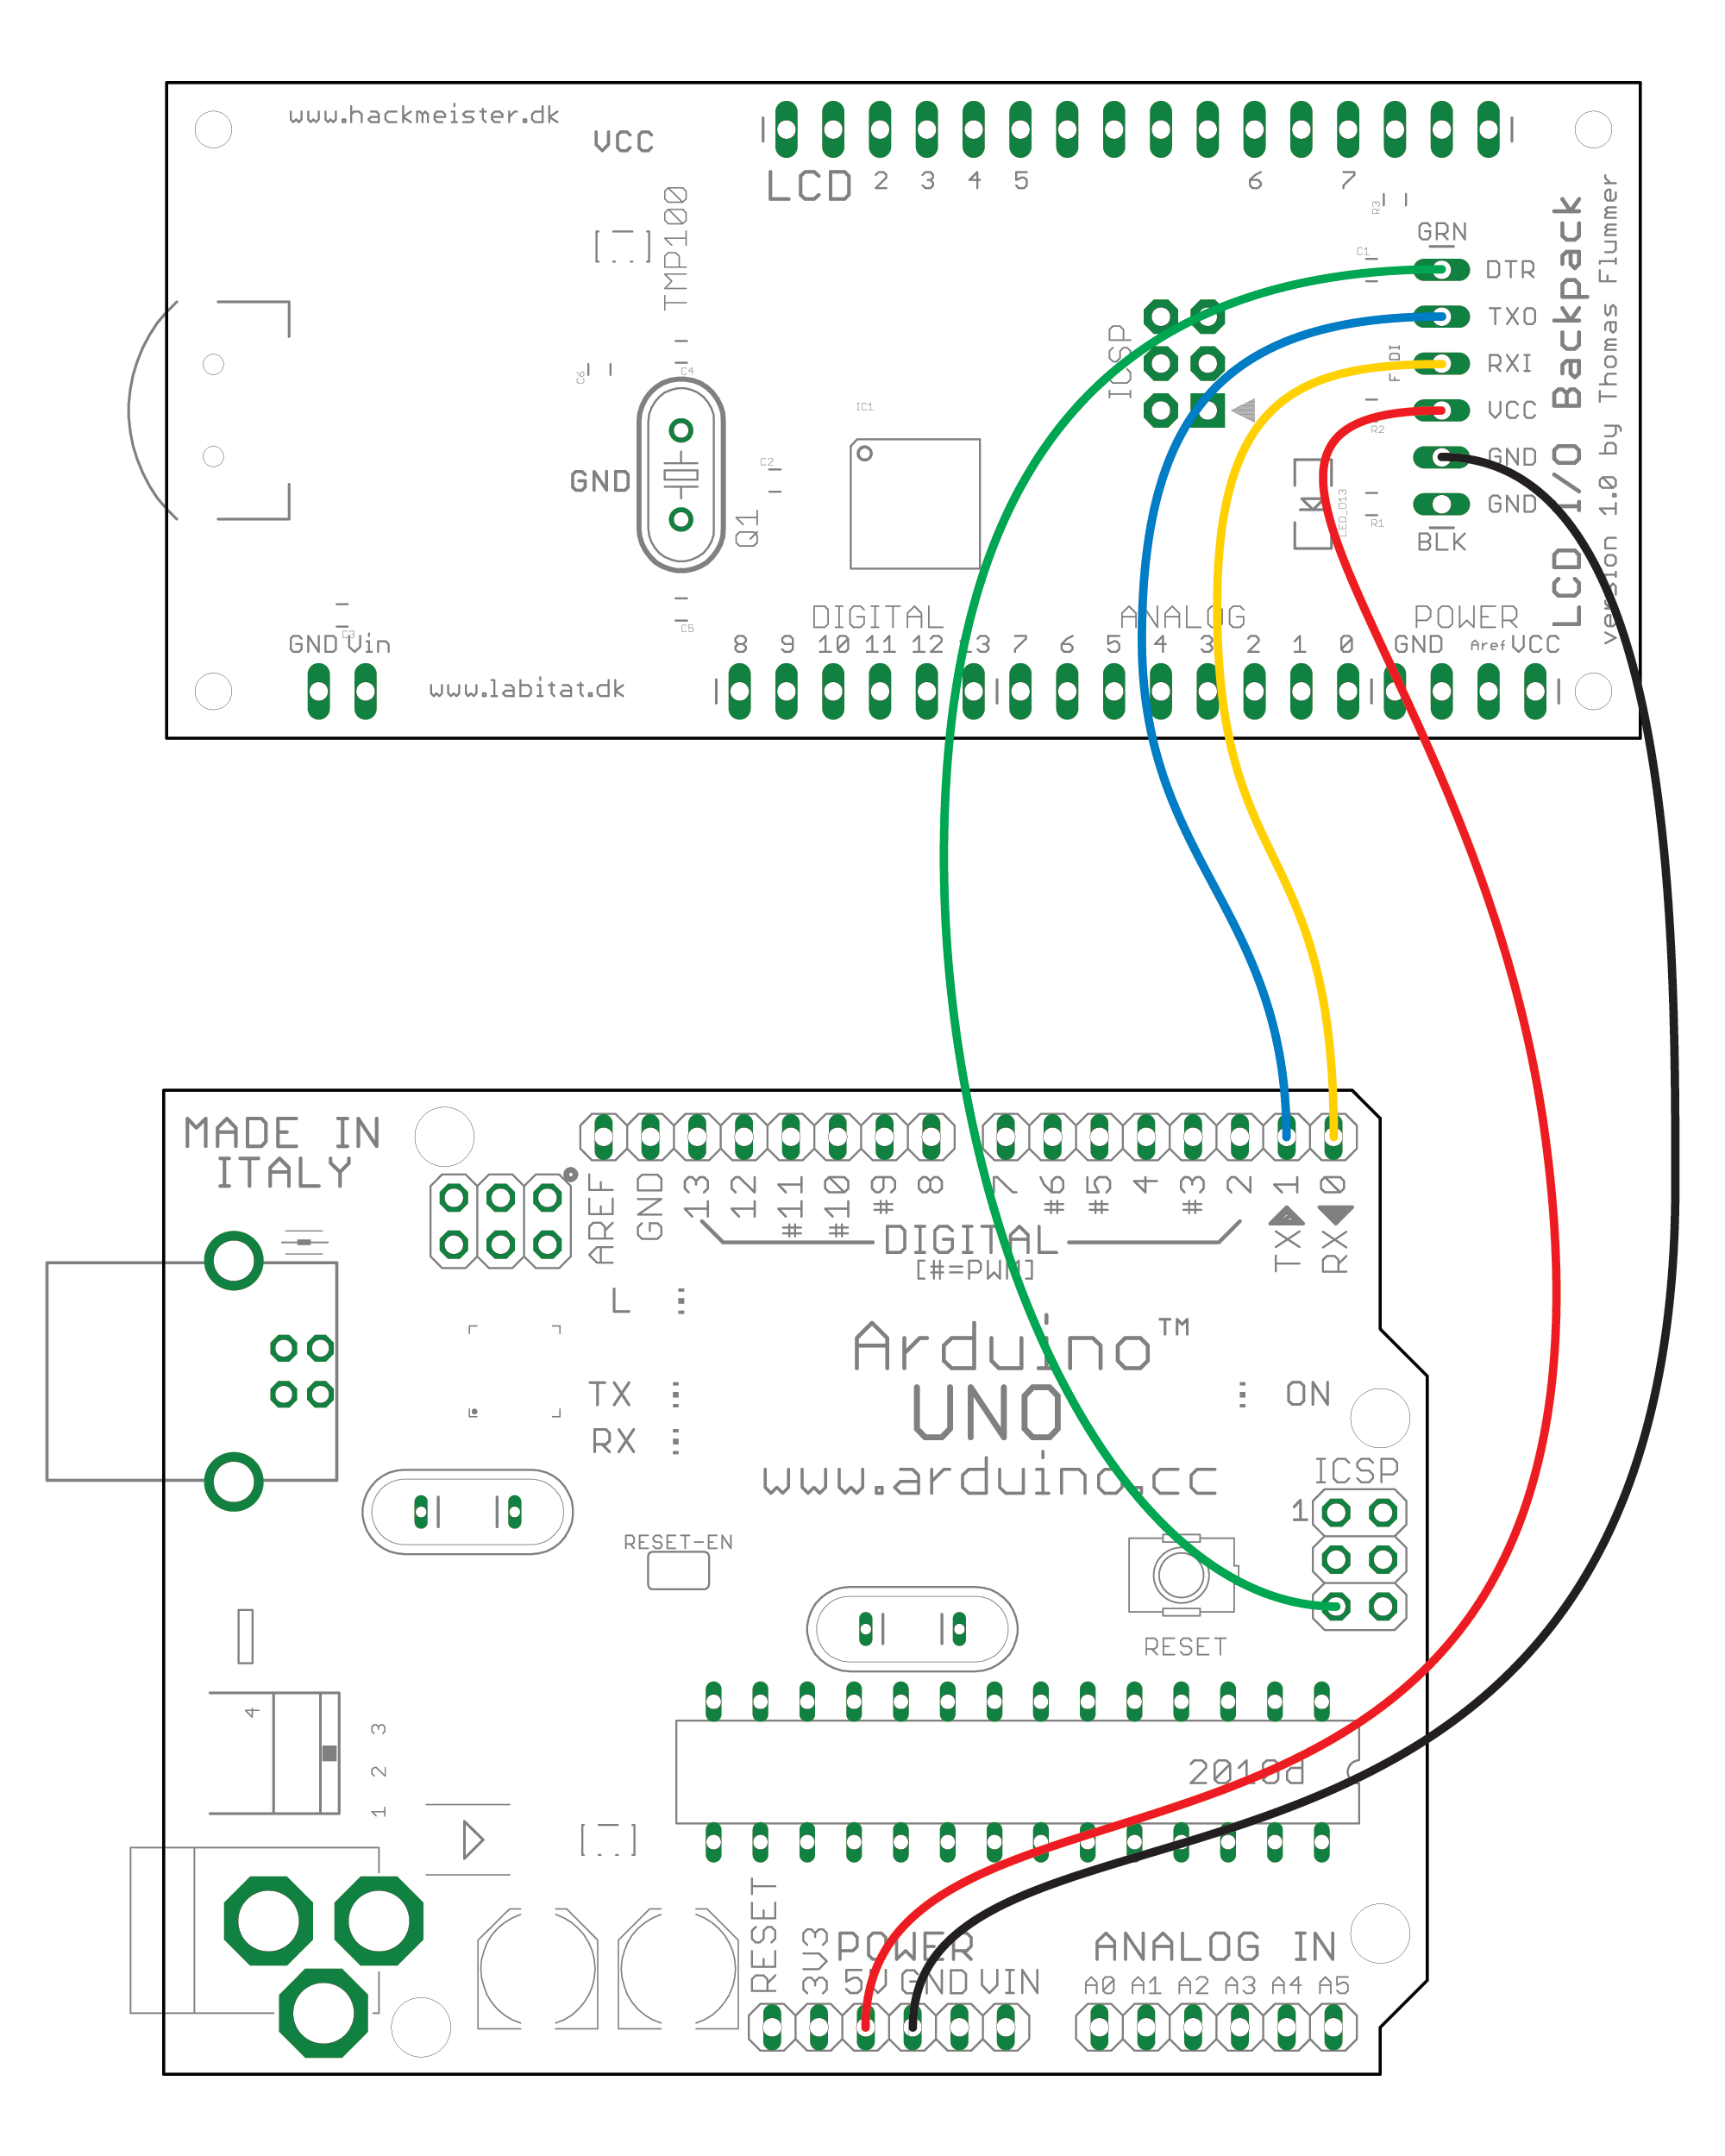
I have made a little drawing of where to find the connections on the two boards, to make it as easy as possible to wire it up.
The drawing is also available as a PDF file ready for print.
When using this method, the programming goes exactly as if you are programming the regular Arduino, except that you will likely have to select a different version of the chip, especially if your board is using the ATMEGA8L controller.
This works with both the Arduino Decimilla/Duemillianove and the new Arduino Uno in addition to any clones that have USB and a removable chip.
Since the chip on the Mega series of Arduinos is soldered onto the board, this hardware hack isn’t possible.
This is just one of the possible alternative ways of programming the LCD I/O Backpack, more options will follow.