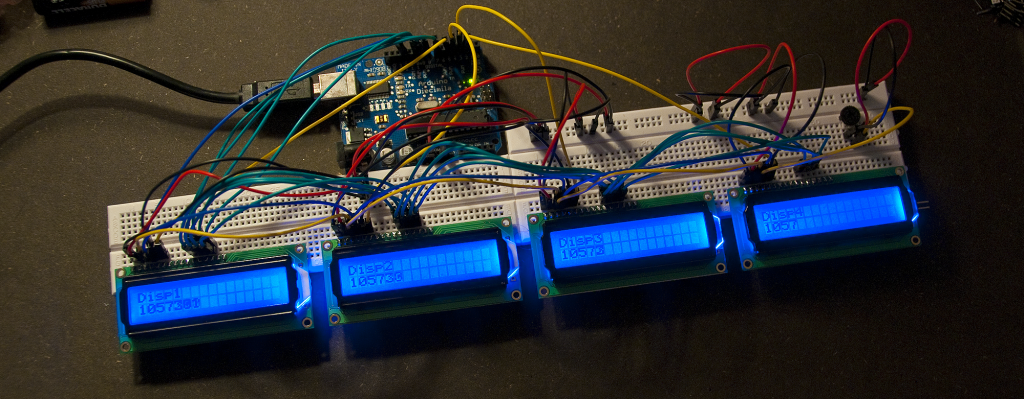
Custom LCD Characters with Arduino
A few days ago I saw a post on Adafruits blog about an online tool by Bruno Maia to help create custom characters for use with character based LCD like the ones used in the last article.

The tool makes it really easy to to design characters, icons and signs, you just click on each pixel to toggle it between dark and light, and when your “character” looks right, you simply copy the code to the right and paste it into your Arduino code, and there you have your new character.
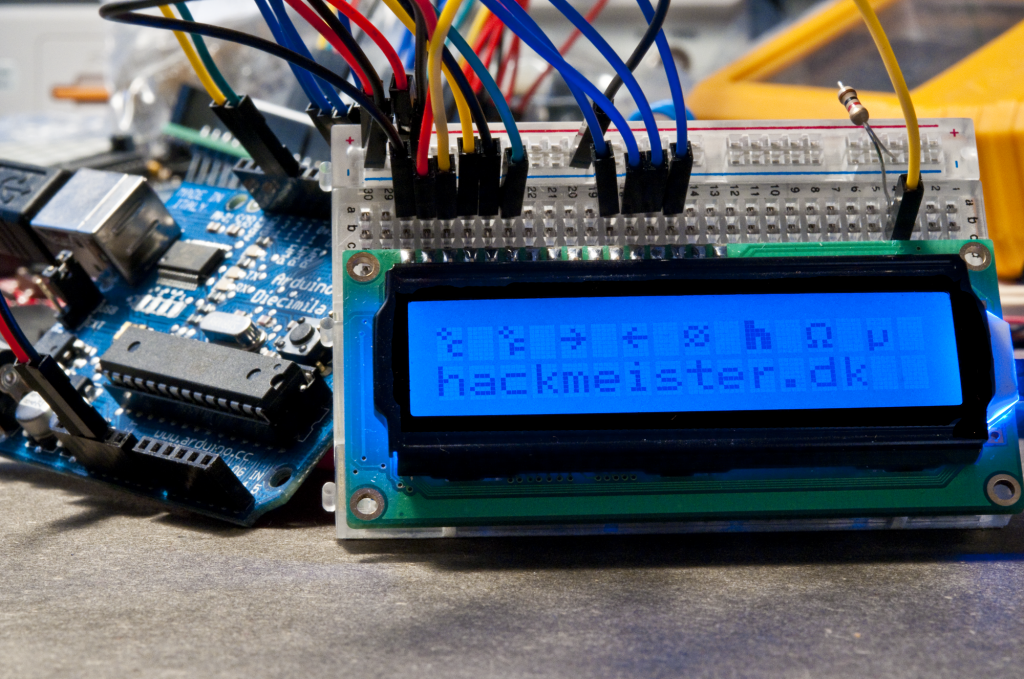
I tried to make a few different characters, as seen in the image above. If space is a little tight and you need a lot of information on screen, making special characters that combine two elements like the “degree centigrade” and “degree fahrenheit” in the image could help you out. Also signs like Ohm and micro are often useful in electronics.
Below is the code I use to draw the screen above:
#include  <LiquidCrystal.h>

LiquidCrystal lcd(12, 11, 5, 4, 3, 2);

// degree centigrade
byte newChar1[8] = {
  B01000,
  B10100,
  B01000,
  B00011,
  B00100,
  B00100,
  B00011,
  B00000
};

// degree fahrenheit
byte newChar2[8] = {
  B01000,
  B10100,
  B01000,
  B00011,
  B00100,
  B00111,
  B00100,
  B00000
};

// arrow right
byte newChar3[8] = {
  B00000,
  B00100,
  B00010,
  B11111,
  B00010,
  B00100,
  B00000,
  B00000
};

// arrow left
byte newChar4[8] = {
  B00000,
  B00100,
  B01000,
  B11111,
  B01000,
  B00100,
  B00000,
  B00000
};

// diameter sign (ø)
byte newChar5[8] = {
  B00000,
  B01101,
  B10010,
  B10101,
  B01001,
  B10110,
  B00000,
  B00000
};

// boldface "h"
byte newChar6[8] = {
  B11000,
  B11000,
  B11110,
  B11111,
  B11011,
  B11011,
  B11011,
  B00000
};

// ohm sign
byte newChar7[8] = {
  B00000,
  B01110,
  B10001,
  B10001,
  B10001,
  B01010,
  B11011,
  B00000
};

// micro sign
byte newChar8[8] = {
  B00000,
  B00000,
  B00000,
  B10010,
  B10010,
  B10010,
  B11100,
  B10000
};

int i = 0;

void setup() {
  lcd.createChar(0, newChar1);
  lcd.createChar(1, newChar2);
  lcd.createChar(2, newChar3);
  lcd.createChar(3, newChar4);
  lcd.createChar(4, newChar5);
  lcd.createChar(5, newChar6);
  lcd.createChar(6, newChar7);
  lcd.createChar(7, newChar8);
  lcd.begin(16, 2);

  for(int n = 0; n < 8; n++)
  {
    lcd.setCursor(n*2,0);
    lcd.write(n);
  }

  lcd.setCursor(0, 1);
  lcd.print("hackmeister.dk");
}

void loop() {

}